
 EN
EN
Introduction
Knowing whether your drone battery is properly charging—or fully charged—is more important than it might initially seem. A misread indicator can lead to interrupted flights, reduced battery lifespan, or even safety risks. Modern drone batteries are smart, but they still rely on user awareness to ensure they are used and maintained correctly.
Drone batteries, especially lithium-based ones, operate within precise parameters. Charging them properly ensures optimal performance, longer lifespan, and safe operation. Fortunately, most manufacturers have made it relatively easy to interpret battery status through LED indicators, though the exact meaning can vary depending on the brand and charging setup.
This guide will walk you through how to recognize charging states, interpret indicator lights, understand different charging configurations, and troubleshoot when things go wrong.
Importance of Knowing if Your Drone Battery Is Charging
At a glance, a blinking light might seem like enough confirmation that your battery is charging. But relying on assumptions can cause problems. If a battery appears to be charging but is actually in an error state, you could end up with a partially charged battery—or none at all—when you need it.
Understanding charging indicators helps you:
Avoid launching with insufficient battery power.
Prevent long-term battery degradation from improper charging.
Identify faults early, before they become expensive problems.
Maintain safe charging practices, especially with lithium batteries.
As a general rule, most drone batteries follow a simple logic: blinking lights indicate active charging, while solid lights indicate a full charge. However, this is just the baseline—there are more nuanced patterns that carry important meaning.
What Do the Battery’s Own Indicator Lights Mean?
Drone batteries typically include built-in LED indicators that communicate their status. These LEDs are controlled by the battery’s internal Battery Management System (BMS), which monitors voltage, temperature, and current in real time.
Here is how to interpret the most common LED patterns:
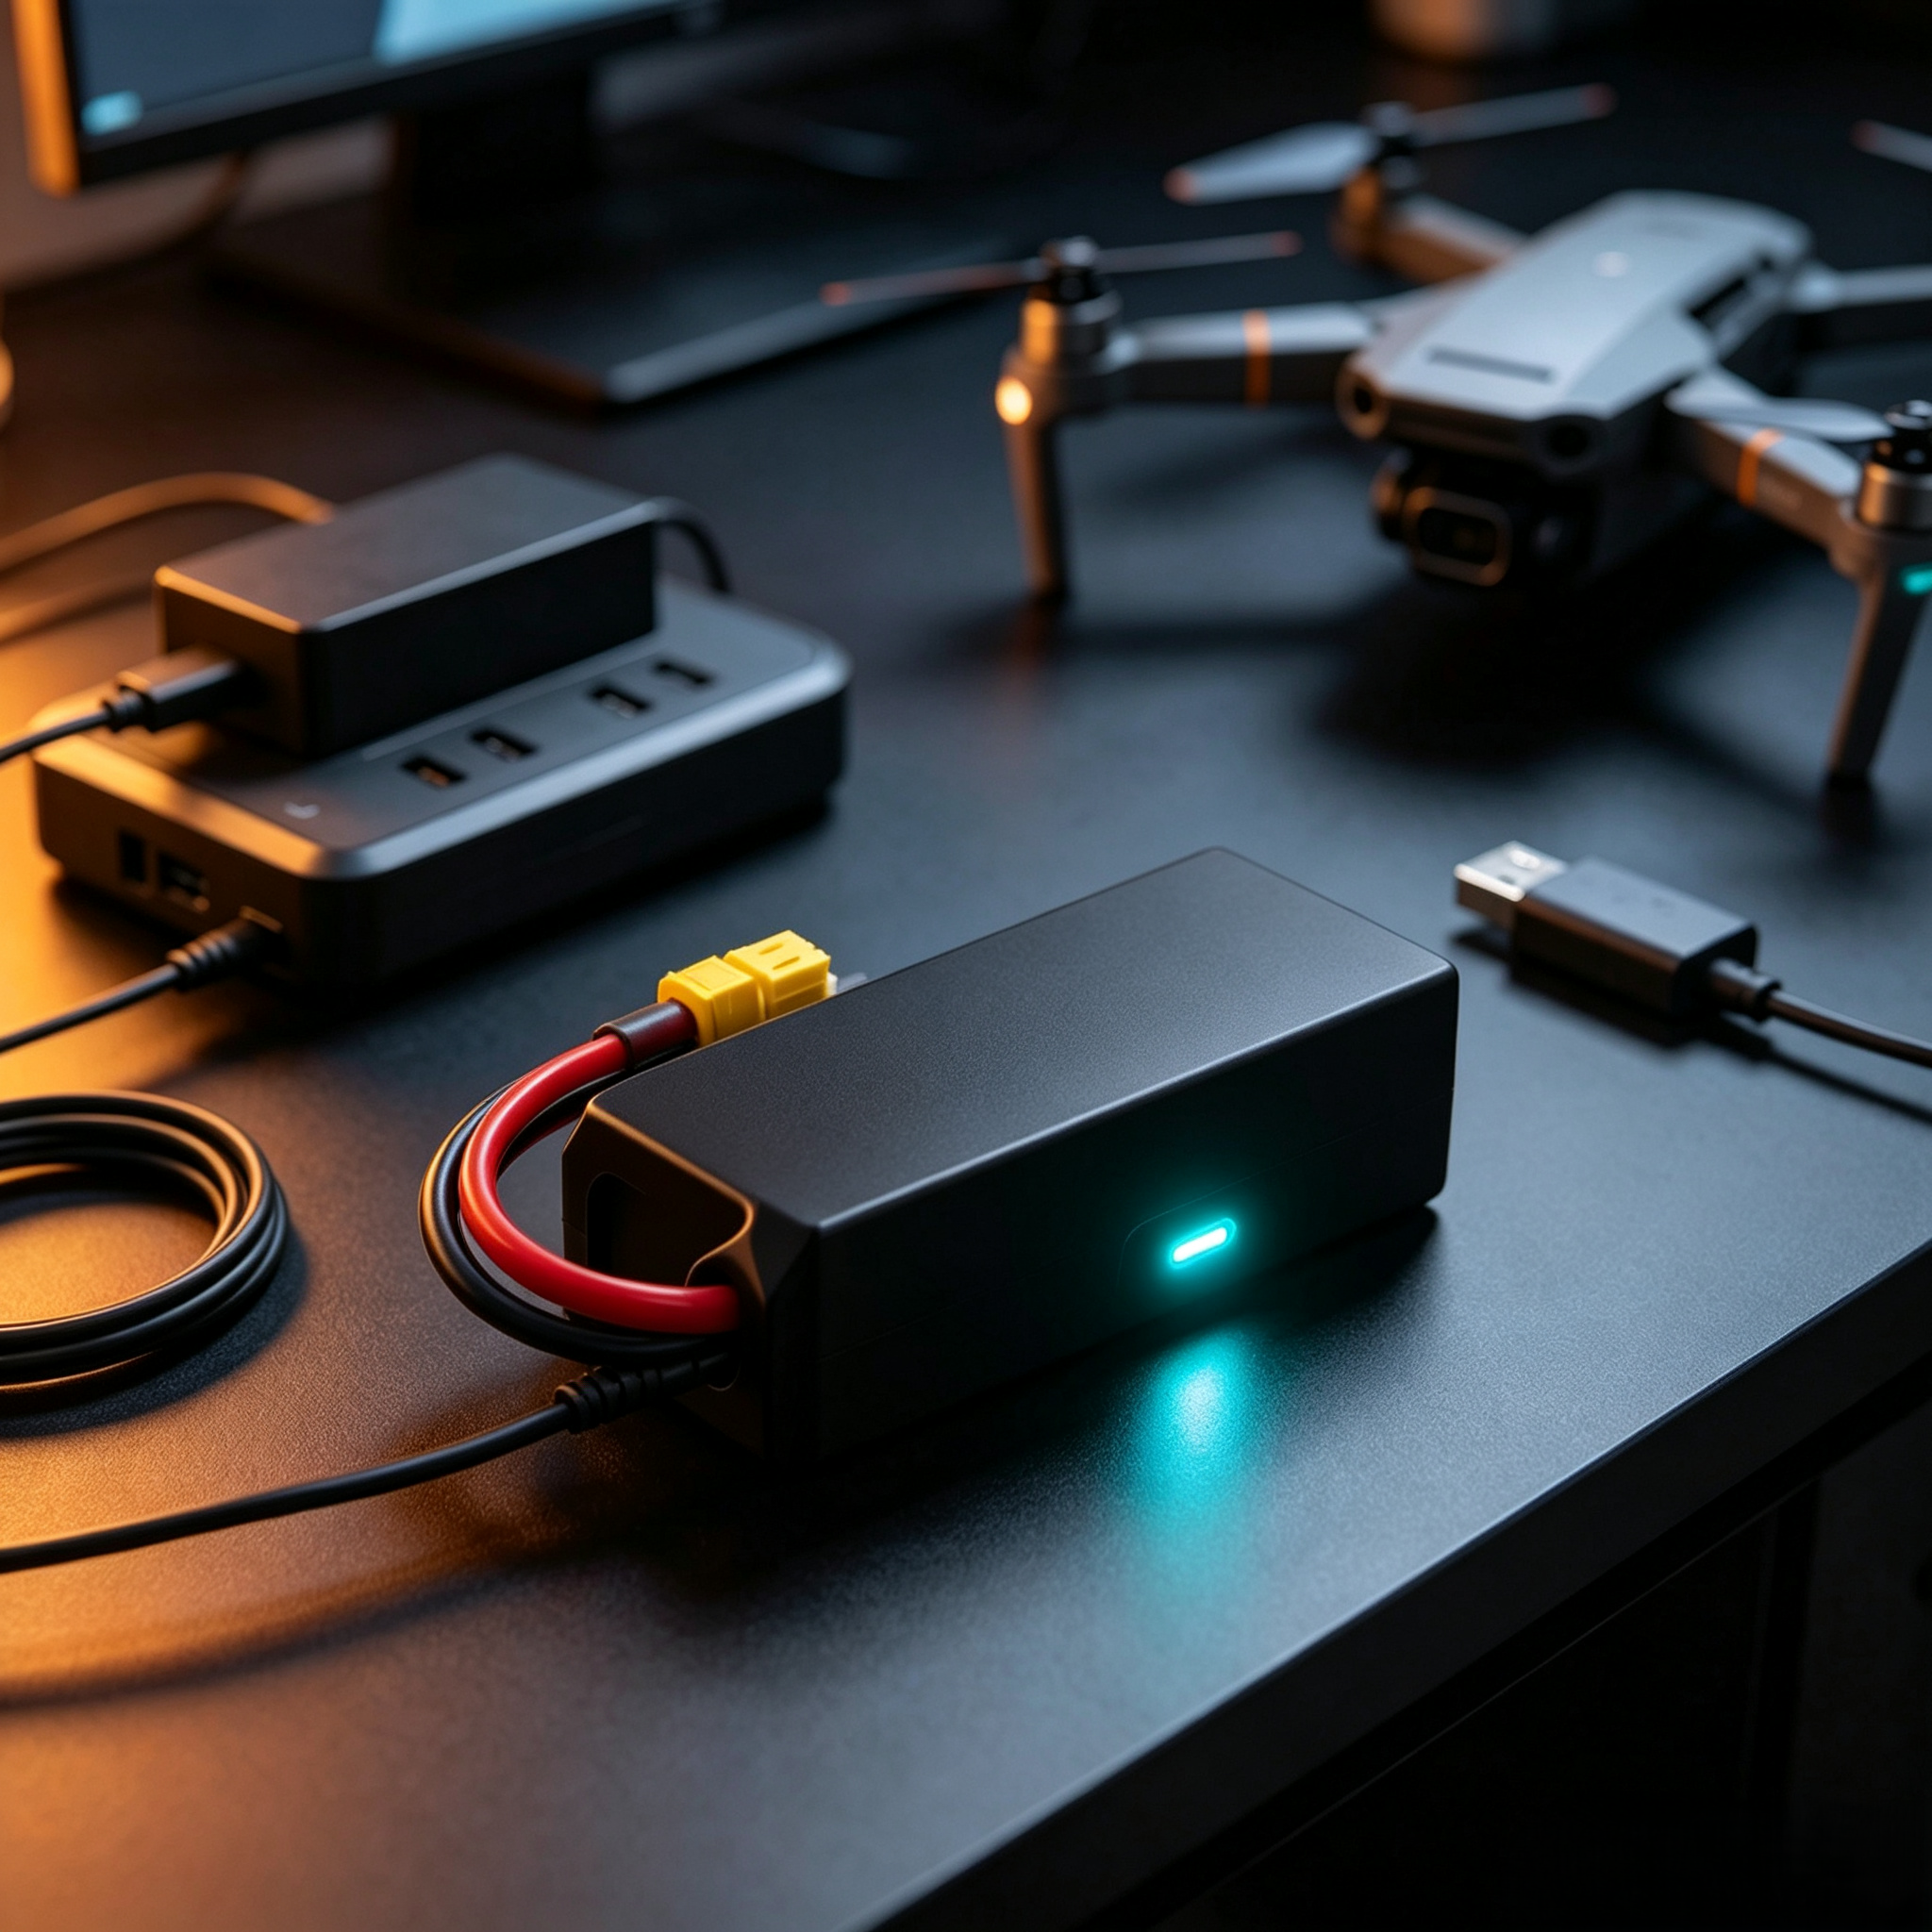
Sequential Blinking: Lights turn on one after another in a loop. This indicates the battery is actively charging, with the sequence often reflecting the current charge level.
All Lights Solid: Every LED is steadily lit. This means the battery is fully charged and ready for use.
Fast Flashing: Rapid blinking across one or more LEDs usually signals a fault. This could include overvoltage, internal damage, or communication errors.
Specific Lights Blinking: If only certain LEDs flash, this often indicates a targeted issue such as temperature outside the safe range or a short circuit warning.
For example, if your battery shows two solid lights and one blinking, it typically means it is around 50–75% charged and still charging. Once all lights stop blinking and remain steady, charging is complete.
Because patterns vary slightly by manufacturer, it is always worth checking your specific drone’s manual for exact meanings.
How Do Different Charging Setups Change the Indicators?
Not all charging methods display information the same way. Depending on whether you are charging directly in the drone, using a hub, or relying on a portable power source, the indicators you see may differ.
Battery Lights vs. Hub or Drone Lights
Battery LEDs: These are the most reliable indicators. They reflect real-time data directly from the battery’s internal system.
Charging Hub LEDs: These often show which battery is currently charging, but may not display detailed charge percentages.
Drone LEDs: When charging inside the drone, external lights may indicate charging status, but they are secondary to the battery’s own LEDs.
Internal BMS as the Definitive Source
The Battery Management System (BMS) is the ultimate authority on charge status. It controls:
Charge rate
Temperature safety limits
Cell balancing
Overcharge protection
Even if external indicators seem ambiguous, the battery’s own LEDs—driven by the BMS—are the most accurate source of truth.
Common Charging Scenarios
Different setups can slightly change how you interpret charging behavior. Here are the most common situations.
Using an Official Charging Hub
Charging hubs are designed to handle multiple batteries efficiently. Most hubs charge batteries sequentially rather than simultaneously, prioritizing the battery with the highest remaining charge or the lowest, depending on the model.
Typical behavior:
Only one battery actively shows a blinking pattern.
Others remain idle with static indicators until it is their turn.
A fully charged battery will display solid lights and stop blinking.
Charging Inside the Drone
When charging a battery inside the drone:
The drone may show a charging light or status indicator.
The battery LEDs still provide the most accurate progress reading.
Charging may take longer compared to a dedicated hub.
This method is convenient but not always ideal for frequent use.
Using a Power Bank
Charging via a power bank introduces additional variables:
Output wattage may be lower, leading to slower charging.
Inconsistent power delivery can affect LED behavior.
Some batteries may not charge at all if the power bank cannot meet minimum requirements.
In this case, watch for irregular blinking patterns or failure to progress through charge levels.
What Should I Do If the Battery Isn’t Charging at All?
If your battery shows no signs of charging, do not immediately assume it is defective. Many charging issues are caused by simple factors that can be corrected quickly.
Start with basic checks:
Ensure the power source is active and delivering power.
Confirm all cables are securely connected and undamaged.
Verify that the battery is within a safe temperature range (typically 5°C to 40°C or 41°F to 104°F).
Temperature is especially important. Batteries that are too cold or too hot may refuse to charge as a safety precaution.
A Step-by-Step Troubleshooting Checklist
When a battery fails to charge, a systematic approach is more effective than guessing.
Check the Power Source
Make sure the outlet, adapter, or power bank is functioning properly. Try another outlet or adapter if needed.
Inspect Connections
Look for loose cables, bent connectors, or debris in charging ports.
Verify Temperature Range
Allow the battery to reach room temperature before attempting to charge.
Swap Components
Try a different cable, charger, or battery to isolate the problem.
Look for Signs of Life
Press the battery’s power button to check if LEDs respond at all. No response could indicate deep discharge or internal failure.
Perform a Physical Inspection
Check for swelling, cracks, or unusual odors. If any are present, stop using the battery immediately.
This step-by-step method helps pinpoint the issue without unnecessary replacements.
Semi-Solid State Drone Battery Technology
Emerging battery technologies are beginning to address some of the limitations of traditional lithium polymer (LiPo) batteries.
Semi-solid state batteries offer several advantages:
Improved thermal stability, reducing overheating risks.
Stronger structural integrity, making them less prone to swelling.
Reduced likelihood of entering “hibernation mode,” a state where deeply discharged batteries become difficult to revive.
These advancements could make future drone batteries safer, more durable, and easier to manage, especially for casual users who may not monitor battery health as closely.
Conclusion
Understanding how to tell when your drone battery is charged comes down to interpreting LED signals correctly and recognizing the role of the battery’s internal management system.
Key takeaways include:
Blinking lights typically indicate active charging, while solid lights signal a full charge.
The battery’s own LEDs are more reliable than external indicators.
Charging behavior varies depending on whether you use a hub, the drone itself, or a power bank.
Systematic troubleshooting is essential when issues arise.
New battery technologies promise improved safety and reliability in the future.
By paying close attention to these indicators and following proper charging practices, you can ensure safer flights, better performance, and a longer lifespan for your drone batteries.
Drone batteries use LED indicators to show charging status. Blinking lights usually mean charging, while solid lights indicate a full charge. Different patterns can signal errors like overheating or faults. Always rely on the battery’s own LEDs and follow a simple troubleshooting process if charging issues occur.
Table of Contents
- Introduction
- Importance of Knowing if Your Drone Battery Is Charging
- What Do the Battery’s Own Indicator Lights Mean?
-
How Do Different Charging Setups Change the Indicators?
- Battery Lights vs. Hub or Drone Lights
- Internal BMS as the Definitive Source
- Common Charging Scenarios
- Using an Official Charging Hub
- Typical behavior:
- Charging Inside the Drone
- When charging a battery inside the drone:
- Using a Power Bank
- Charging via a power bank introduces additional variables:
- What Should I Do If the Battery Isn’t Charging at All?
- Start with basic checks:
- A Step-by-Step Troubleshooting Checklist
- Check the Power Source
- Inspect Connections
- Verify Temperature Range
- Swap Components
- Look for Signs of Life
- Perform a Physical Inspection
- Semi-Solid State Drone Battery Technology
- Semi-solid state batteries offer several advantages:
- Conclusion
- Key takeaways include: