
 EN
EN
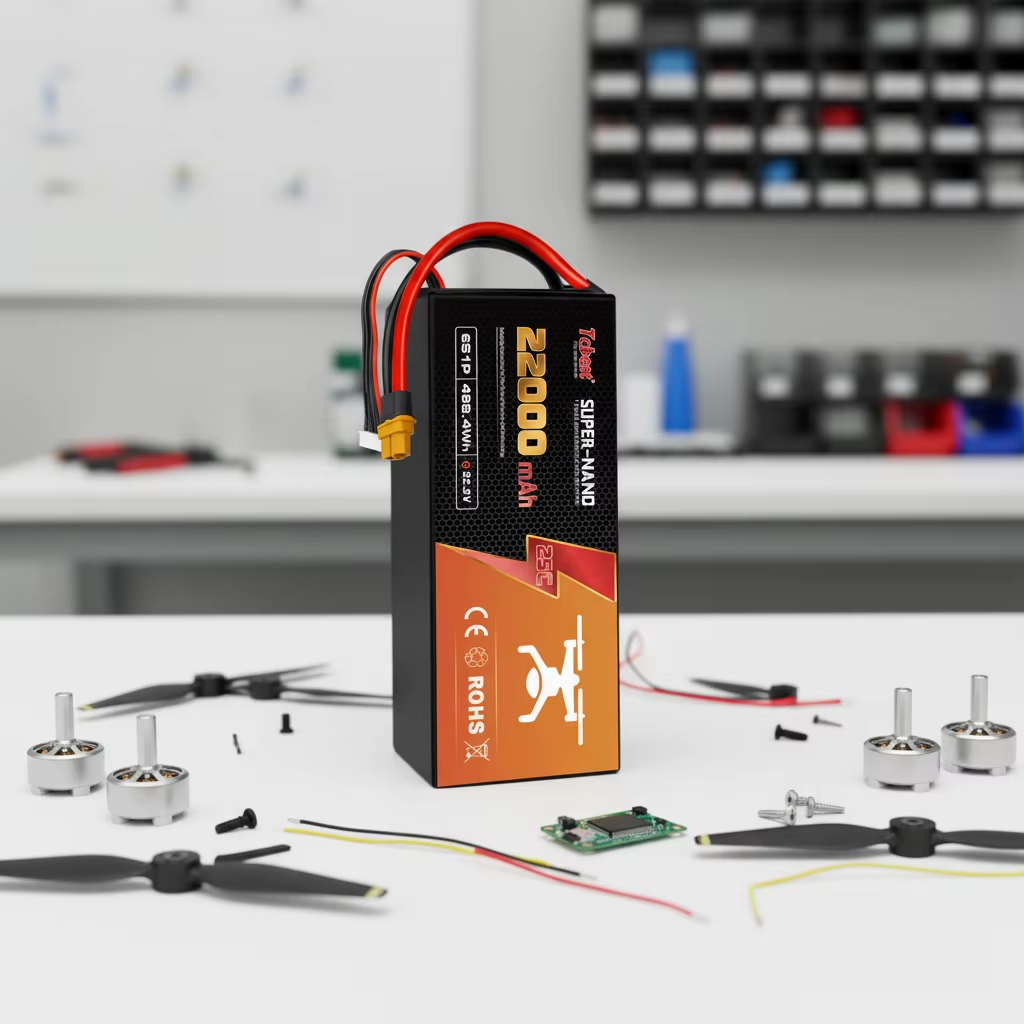
Removing a drone battery sounds simple, but doing it the right way matters more than many pilots realize. A safe routine helps protect the battery, the drone’s power contacts, and the locking mechanism while also making it easier to spot damage before the next flight.
In most cases, the process is straightforward: power the drone off completely, allow the battery to cool if necessary, release the locking mechanism, remove the battery without forcing it, inspect it, and store it under suitable conditions.
The exact procedure varies from one drone to another, so the manufacturer’s manual should always come first. Still, the general practices below apply to most consumer drones, FPV aircraft, and professional drones that use removable lithium-based batteries.
Why Proper Battery Removal Matters
A drone battery is more than a removable power source. It is one of the most energy-dense and safety-critical parts of the aircraft.
Most modern drones use rechargeable lithium-ion or lithium-polymer batteries because they offer a good balance of weight, voltage, power output, and capacity. These batteries make long and powerful flights possible, but they also need to be handled carefully.
A damaged connector, swollen cell, torn battery covering, dirty battery compartment, or poorly secured battery can lead to unreliable power delivery, overheating, unexpected shutdowns, or, in severe cases, fire.
Removing the battery properly helps:
- Protect the battery terminals and the drone’s internal contacts
- Reduce wear on latches, rails, and locking tabs
- Make battery damage easier to notice
- Allow the battery to cool after a flight
- Prepare the battery for proper storage
- Reduce the chance of accidental activation during transport
- Keep the drone safer during long periods of storage
Many modern drones use so-called smart batteries. These packs may contain battery-management electronics that monitor cell voltage, temperature, current, and charge level.
That extra protection is useful, but it does not make the battery immune to poor handling. A smart battery can still be damaged by impact, excessive heat, moisture, bent connectors, or being forced into or out of the aircraft.
The goal is not to remove the battery as quickly as possible after landing. The goal is to remove it carefully, with the aircraft powered down and the battery properly supported.
Understand Your Drone's Battery System
Before handling the flight battery, it helps to know what type of battery your drone uses and how it is secured.
Consumer camera drones often use manufacturer-specific smart lithium-ion or lithium-polymer battery packs. These usually slide into a battery bay and lock into position with one or more latches.
FPV drones are different. They often use an external LiPo pack secured with a battery strap and connected through an XT30, XT60, or similar power connector.
Small toy drones may use compact proprietary battery packs, while larger industrial drones may use paired battery systems or removable battery modules.
Common battery types include:
- Lithium-ion batteries: Common in camera drones, long-endurance aircraft, and some FPV systems. They offer high energy density but should be protected from heat, physical damage, and deep discharge.
- Lithium-polymer batteries: Widely used in FPV drones, RC aircraft, and high-power systems. They can supply high current but are particularly sensitive to swelling, punctures, and over-discharge.
- Smart batteries: Often found in consumer and enterprise drones. These contain additional monitoring electronics and should be handled according to the manufacturer's instructions.
- Small integrated battery packs: Common in micro and toy drones. Special care is needed to avoid pulling on small wires or connectors.
Your drone manual should explain the correct shutdown sequence, which buttons or latches release the battery, whether the battery needs to cool before charging, and the recommended storage level.
Do not assume that the removal method used on one drone also applies to another. A rear-loading battery may use side release buttons, while a top-loading pack may depend on a locking tab.
For FPV batteries, the connector should be separated by gripping the connector housing rather than pulling on the wires.
If the battery does not come out normally, do not force it. Check the aircraft instructions first.
Power the Drone Off First
Before removing a battery, shut the drone down completely.
This is one of the most important habits in battery handling.
Pulling a removable battery from an aircraft while it is still powered can suddenly interrupt the electrical current. Depending on the drone, this may stress electrical contacts, interfere with data being written to a memory card, or cause unexpected behavior from components that are still operating.
A sensible post-flight routine is:
- Land the drone and disarm the motors.
- Wait until all propellers have stopped.
- Turn the aircraft off using the manufacturer's normal shutdown procedure.
- Wait for lights, fans, gimbal movement, or other signs of operation to stop.
- Allow the battery to cool if it feels hot.
- Release and remove the battery.
FPV drones work a little differently because many of them power down only when the battery connector is unplugged. In that case, place the drone on a stable, non-conductive surface, make sure it is disarmed, stay clear of the propellers, and disconnect the battery by holding the connector body.
Never disconnect an FPV battery by pulling on the wires.
Repeatedly pulling the wires can loosen solder joints, damage insulation, or pull a conductor out of the connector.
Let the Battery Cool After Flight
It is normal for a drone battery to become warm during use, especially after long flights, aggressive flying, strong-wind conditions, or operation in hot weather.
However, a warm battery should not immediately be sealed in a bag or connected to a charger.
After landing, place the drone in a shaded, stable location and allow the battery to cool naturally.
Avoid trying to speed up the process by putting the battery in a refrigerator, freezer, or other cold and damp environment. A rapid temperature change can create condensation, which may damage the battery or its electronics.
Cooling is particularly important after:
- Long flights
- Sport or manual-mode flying
- High-throttle climbs
- Flying in hot weather
- Repeated takeoffs and landings
- Hard landings or crashes
- Battery warnings or unusually short flight times
Once the battery has returned close to room temperature, it is generally in a better condition for inspection, charging, or storage.
If it remains hot for an unusually long time, becomes hotter while sitting unused, develops an unusual smell, begins to swell, or reports battery errors, stop using it.
Find the Battery Release Mechanism
Most drones use some form of locking system to prevent the battery from moving during flight.
Depending on the aircraft, this may include:
- Side release buttons
- Top or bottom locking tabs
- Sliding latches
- Pull handles
- Spring clips
- A battery door or cover
- A battery strap on an FPV frame
Before pressing the release, support the aircraft with one hand.
This is especially important when the battery is mounted underneath or at the rear of the drone. Once the latch releases, you do not want the battery dropping onto a hard surface.
A typical removable smart battery can usually be taken out like this:
- Place the drone on a stable surface.
- Locate the battery release buttons or latches.
- Press the required release points evenly.
- Slide or pull the battery straight out along its normal path.
- Keep the battery level and avoid twisting it sideways.
- Place it on a clean, non-flammable surface.
Some batteries require two release buttons to be pressed at the same time. If that is how the system is designed, do not press only one side and pull harder.
Uneven force can wear the latch, distort the battery rails, or cause the pack to jam.
If the aircraft has a battery cover, open it fully before trying to remove the pack. Do not pry the battery out with screwdrivers, knives, or other metal tools.
Remove the Battery Gently
Once the locking mechanism is fully released, the battery should come out with controlled, moderate pressure.
You should not have to yank, twist, pry, hit, or force it.
Whenever possible, hold the solid body of the battery rather than pulling on a fragile cover, cable, balance lead, or connector.
With an FPV battery, remove the battery strap first and then unplug the main connector by gripping the plastic connector housings.
If the battery is stuck, stop pulling and find out why.
Possible causes include:
- The latch is not fully released
- Dirt, grass, sand, or debris is inside the battery bay
- The battery has swollen
- A rail or guide is damaged
- The aircraft was distorted in a crash
- Heat has caused expansion
- A connector or internal part is obstructing removal
Inspect the battery compartment in good light. Loose dust and debris can usually be removed carefully with a soft brush or a clean, dry cloth.
Avoid introducing moisture into the aircraft, and do not scrape electrical contacts with sharp tools.
If the battery appears swollen or physically distorted, do not force it out.
A swollen lithium battery may be unstable. Compressing, bending, or puncturing it can increase the risk of failure.
If the pack cannot be removed safely, follow the manufacturer's support instructions or seek qualified repair assistance.
Inspect the Battery After Removal
A quick inspection after every flight is a good habit. It only takes a few seconds and can prevent a damaged battery from being used again.
Check for:
- Swelling or puffing
- Cracks, dents, punctures, or crushed corners
- Damage to the plastic housing
- Torn wrapping or exposed cell material
- Corrosion or discoloration around the terminals
- Bent, recessed, or loose contacts
- Leaking fluid
- Burn marks
- Unusual smells
- Excessive heat after resting
- Battery errors in the drone app
- Sudden loss of flight time
- Abnormally rapid voltage drop
A healthy battery should normally keep its intended shape and sit flat.
If the battery rocks on a flat surface because the casing has started to bulge, do not keep using it.
Swelling is not simply a cosmetic issue. It can indicate gas formation and internal cell deterioration.
Do not try to repair a swollen battery by squeezing it, puncturing it, wrapping it tightly with tape, opening the casing, or charging it again.
Damaged lithium batteries should be kept away from combustible materials and disposed of through an appropriate battery recycling or hazardous-waste program according to local requirements.
The drone's battery compartment also deserves a quick inspection.
Look for debris, moisture, broken latches, bent contacts, or signs of melted plastic. Dirty or damaged electrical contacts can create resistance, which may lead to heat, poor power delivery, or intermittent shutdowns.
If the contacts are dusty, use a clean, dry, lint-free cloth or soft brush. Do not spray liquid cleaner directly into the battery bay.
Store the Battery Properly
Good storage habits can have a major effect on battery safety and service life.
Once the battery has cooled and passed inspection, keep it in a clean, dry, well-ventilated location away from direct sunlight, heaters, flammable materials, children, pets, and loose metal objects.
A suitable LiPo safety bag or non-combustible battery container can provide extra protection during storage and transport. It should not be treated as a guarantee against fire, but it can help reduce exposure to surrounding materials if something goes wrong.
For batteries that will not be used for several days or longer, avoid leaving them completely full or almost empty unless the manufacturer specifically recommends otherwise.
Many pilots use a storage level of roughly half charge as a practical target, but the correct level depends on the battery system.
Some smart batteries can automatically discharge themselves to a safer storage level after a set period.
The manufacturer's recommendation should always take priority.
Useful storage habits include:
- Store batteries separately from the drone when practical
- Protect the terminals from metal objects
- Keep batteries in a cool, dry place
- Avoid direct sunlight and strong heat sources
- Never leave batteries in a hot vehicle
- Avoid extreme cold and extreme heat
- Inspect stored batteries regularly
- Follow the recommended maintenance schedule
How to Install a Battery Safely
Installing a battery is essentially the reverse of removing it, but it still deserves attention.
Before installation, inspect both the battery and the drone.
Make sure:
- The battery is the correct model for the aircraft
- The battery is not swollen, cracked, leaking, or damaged
- The electrical contacts are clean and dry
- The battery compartment is free of dirt and debris
- The battery temperature is suitable for use
- The latches, rails, and battery door are undamaged
- No wires or straps will interfere with installation
- Insert the battery along its designed path.
- Do not push it sideways or force one corner into place.
- Apply gentle, even pressure until the locking mechanism clicks or clearly engages.
- After installation, perform a light pull check. Gently try to move the battery in the direction it would normally slide out.
- It should remain firmly locked in position.
- Also check for unusual gaps between the battery and the aircraft body.
A battery that is not fully secured can shift during takeoff, disconnect during acceleration, change the aircraft's center of gravity, or even fall out in flight.
Never assume it is locked simply because it looks correctly installed.
Final Thoughts
The safest way to remove a drone battery is simple: shut the aircraft down, give the battery time to cool when needed, release the locking mechanism correctly, remove the pack without forcing it, inspect it, and store it under suitable conditions.
The entire process only takes a few minutes.
Those few minutes can protect the drone's connectors, reduce unnecessary wear, help identify battery problems before they become serious, and make future flights more reliable.
Battery care does not need to be complicated. A consistent routine before and after every flight is usually enough to prevent many of the most common battery-related problems.
Learn how to safely remove, inspect, install, and store a drone battery. This guide covers proper shutdown, battery cooling, release mechanisms, damage checks, FPV battery handling, safe storage practices, and common mistakes to avoid, helping protect your drone, extend battery life, and improve flight safety and reliability.
Table of Contents
- Why Proper Battery Removal Matters
- Understand Your Drone's Battery System
- Power the Drone Off First
- Let the Battery Cool After Flight
- Find the Battery Release Mechanism
- Remove the Battery Gently
- Inspect the Battery After Removal
- Store the Battery Properly
- How to Install a Battery Safely
- Final Thoughts